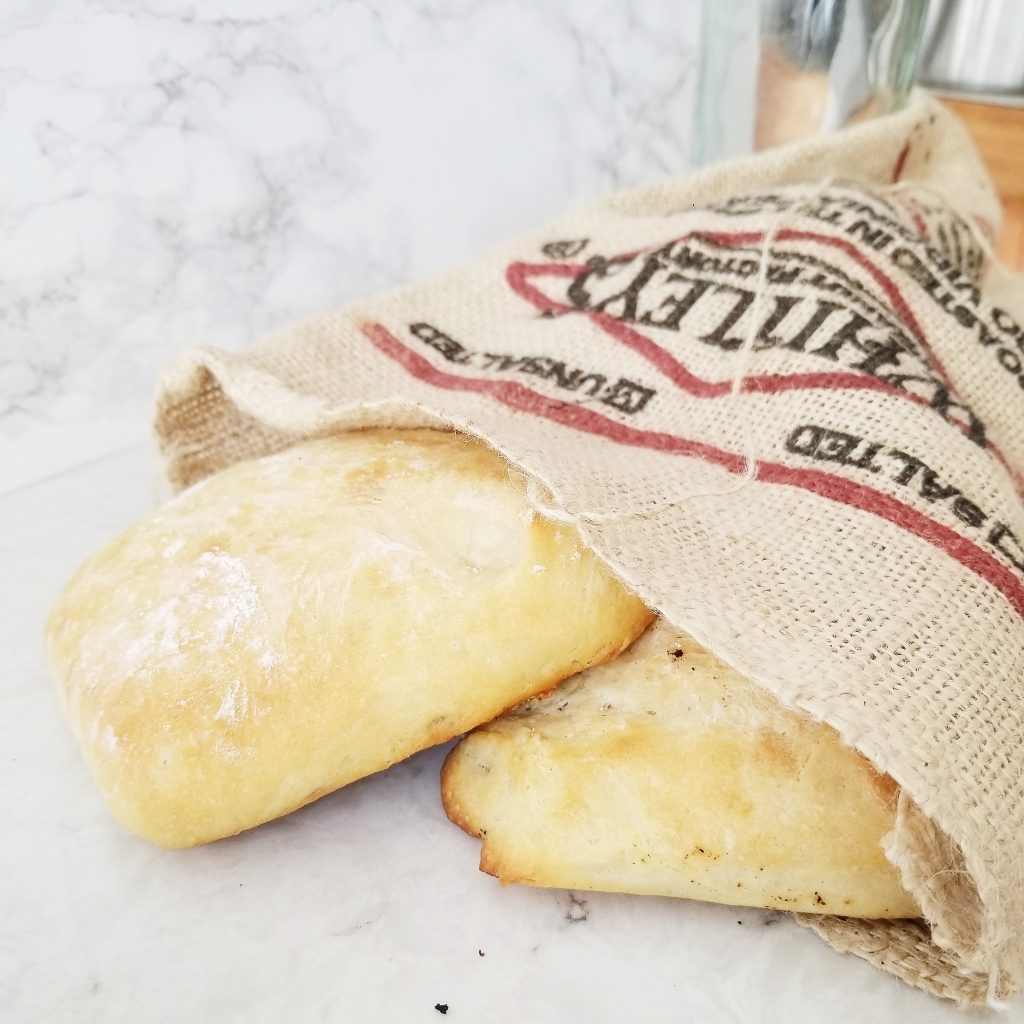
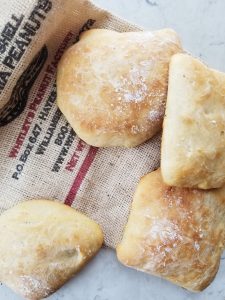
Ciabatta Rolls. My quick ciabatta rolls are easy to make and do not require an overnight ferment, unlike my ciabatta bread recipe.
My Ciabatta Rolls Recipe:
- Chewy texture
- Perfect for sandwiches
- Can be made without a standing mixer!
I've been getting more into making home made breads. I was reading the back of a package of bread the other day and realized how much crap is in bread. Even the healthy ones. Why do I want 20 ingredients in my ciabatta rolls when I could make them with five?
I really like making a big batch of these ahead of time and putting them in the freezer. They are super easy to store! Next on my list is to make some more pita and naan bread.
Love trying new cuisines at home and want to try truly unique recipes? Make sure to check out my complete guide on Cooking Authentic Arabic Food at Home!
A note about the yeast for ciabatta
So if you are looking at any bread recipe, you may start to see some say active dry and some say fast-action or rapid rise.
Basically, one of them, which is the fast-action, can be added right to a bread and is immediately activated. The other one, the active dry, needs to be activated.
If you are using the active dry yeast in this recipe, you will just need to make a very minor adjustment. Add 2 ¼ teaspoons of the active dry yeast to a bowl. Add 1 teaspoon of sugar and ¼ cup of warm water. Whisk it around to dissolve the sugar and yeast.
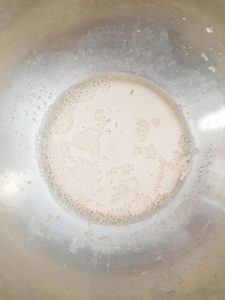
Let the mixture sit until it is frothy. You will see a lot of action after about 10-20 minutes depending on how warm of a climate you live in.
If the mixture is flat and watery after 20 minutes, there is something wrong. Either your yeast is really old, a bad batch from the store, or the water was too hot and killed it.
Bread flour vs All purpose flour for ciabatta bread
Another thing to consider is if you should be using bread flour or all purpose flour. A lot of bread recipes call for bread flour, especially ciabatta bread. The telltale texture of ciabatta bread, which is very chewy, is because of the flour.
Bread flour has a higher amount of protein. This protein makes the bread have a higher gluten content, which makes it have more structure. Ultimately, it makes it chewier.
But, if you are like me and didn't have bread flour on hand, and didn't want to go to the store and get it, the all-purpose flour worked just fine. It wasn't as chewy as other ciabatta rolls that I have tried but I still really enjoyed my sandwich. And, my boyfriend who is a lover of ciabatta bread sandwiches loved my recipe too!
HOW TO MAKE CIABATTA ROLL DOUGH
Now that you have decided whether you are using active dry or fast action, and bread flour or all-purpose it is time to make the dough for your ciabatta rolls.
If you did the active dry method above, you can move on to adding the remainder of your water, the olive oil, and the flour.
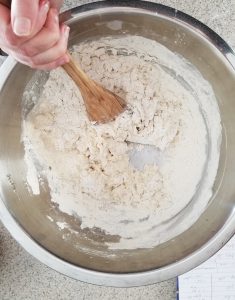
If you are using the fast action method, you will want to combine the flour, the fast-action yeast, the olive oil, and the water. Mix it until it is combined.
Now you are at the same point for either of the methods. Add the salt and mix again. At this point your dough should be very sticky. This is good. If it is not sticky, add ⅛ cup of water as needed.
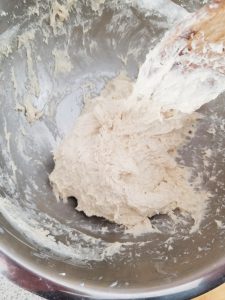
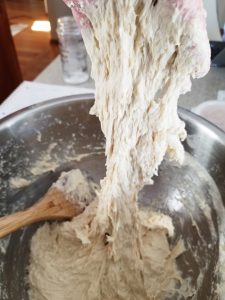
Knead the dough until you can stretch it at least 3-4 inches without it breaking. See the image here:
Once you have sufficiently kneaded your dough, it is time to proof it.
HOW TO PROOF DOUGH FOR CIABATTA ROLLS
Add a bit of olive oil to the bottom of the 9" glass dish. It is a good idea to let your bread rise in a glass dish so that it can begin to take a square form. If you use a round dish or a bowl, it will be in a ball and you will have to stretch it out and work it into a square after it rises. This would defeat the purpose of rising it because you would be destroying all the air pockets you just created.
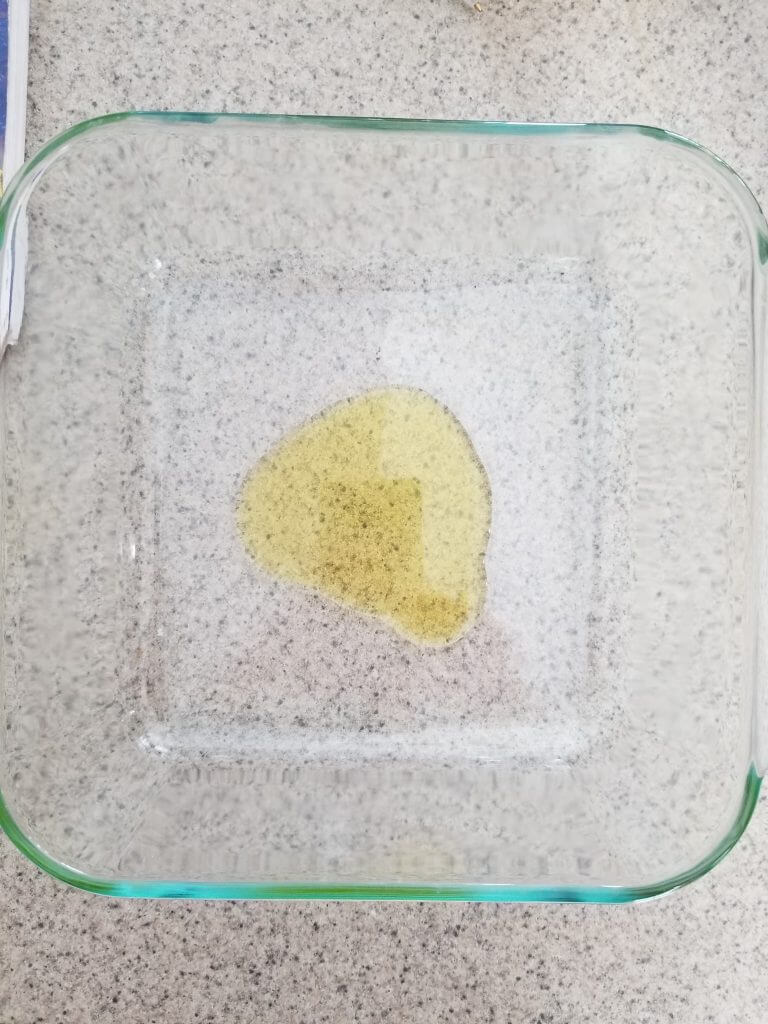
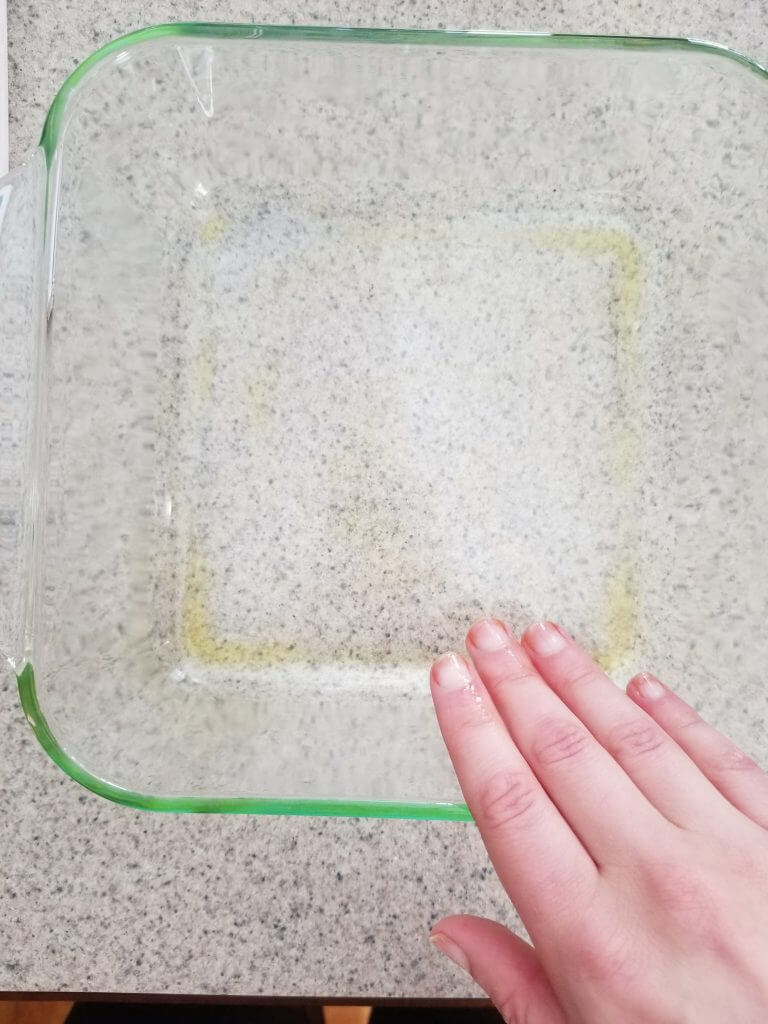
sides
Add the dough to the oiled dish. Press the dough to the corners of the dish.
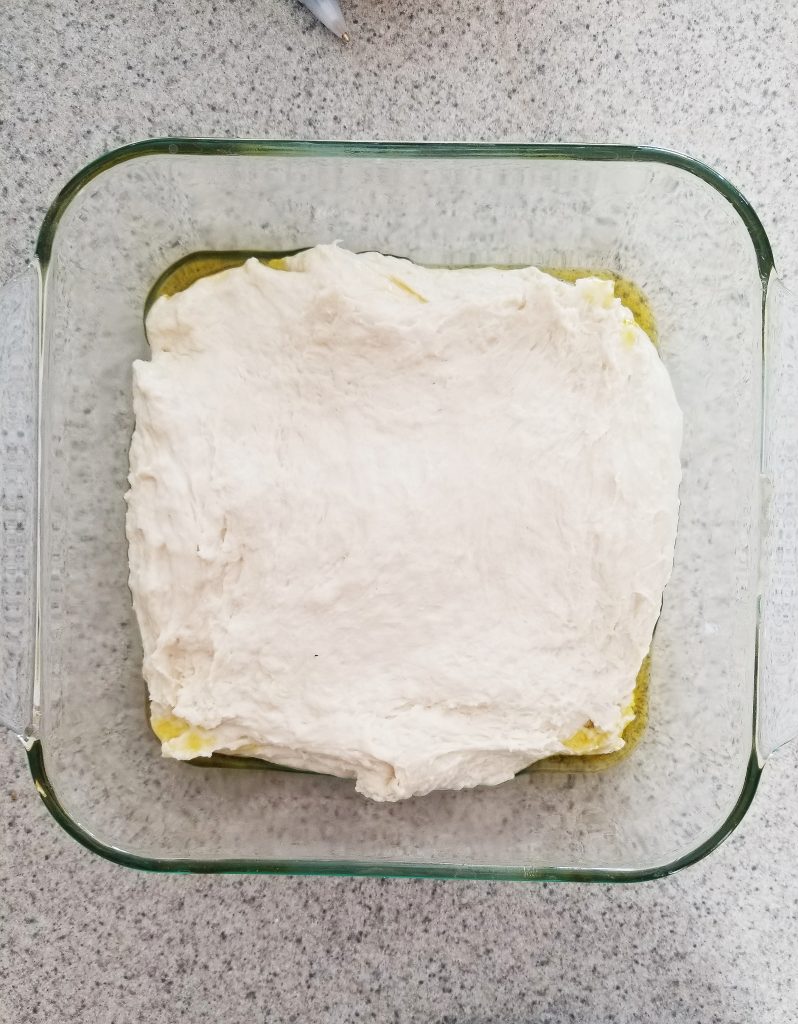
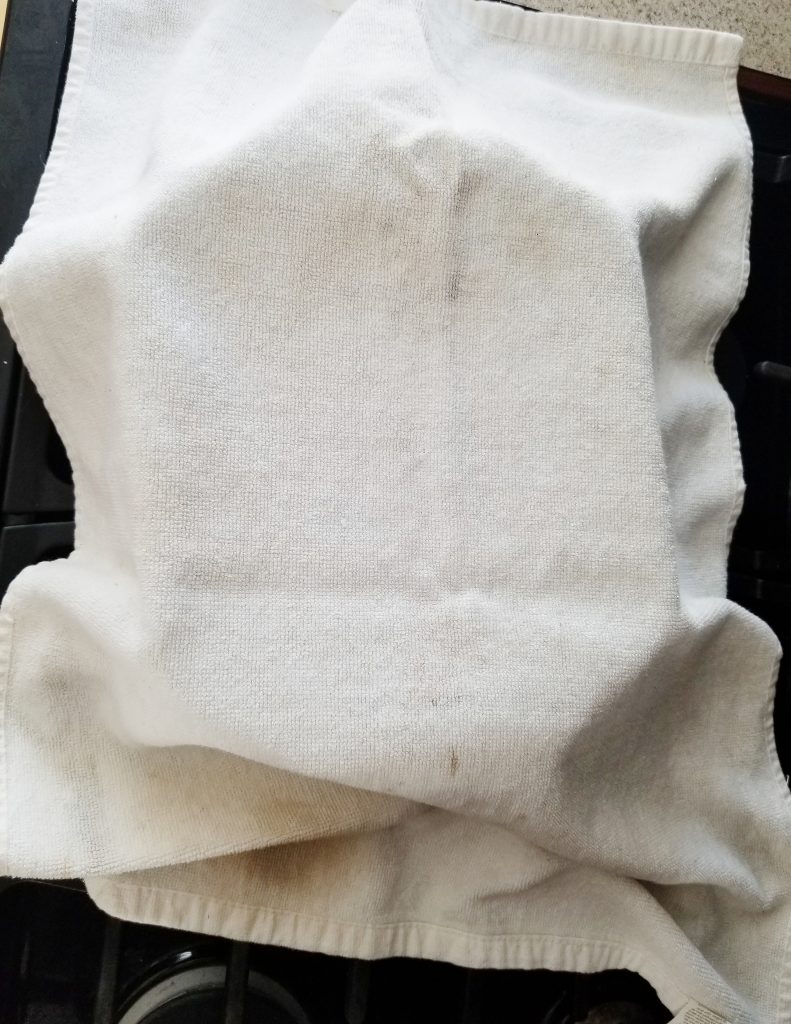
Cover this and let it sit somewhere warm for about 2 hours. After 2 hours it should have doubled in size.

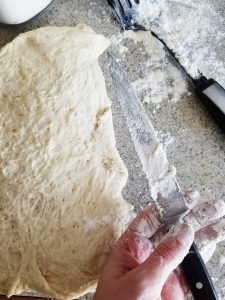
Turn your dough onto a lightly floured surface. Be very gentle with the dough, you don't want to destroy any of the air pockets you just created. Flour a knife and cut them into 10 squares that are roughly the same size. Flouring the knife helps so that it doesn't stick to the dough.
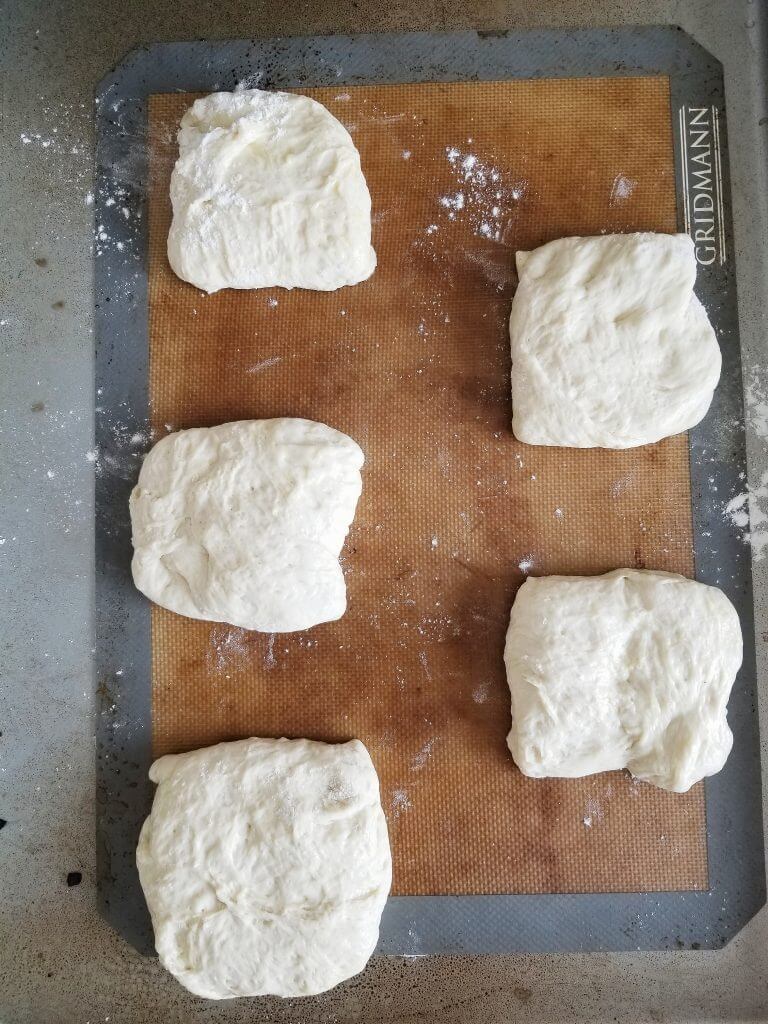
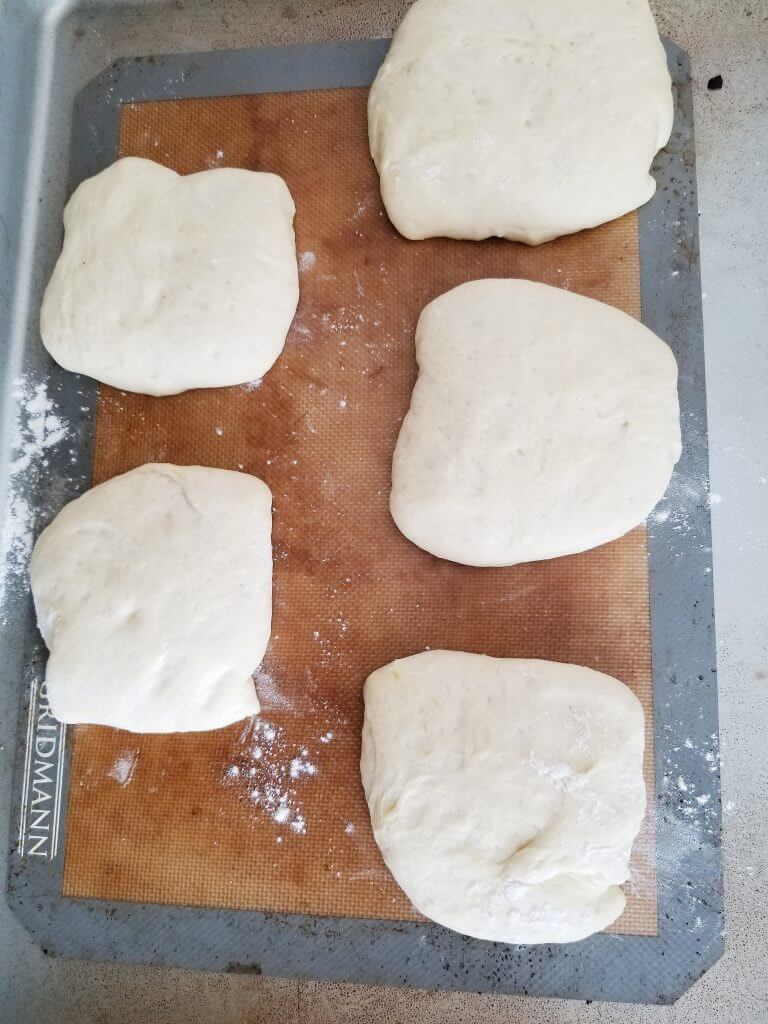
Transfer your rolls to a baking tray (or trays) lined with parchment paper or a silicone baking mat. Let them sit for another 20 minutes until they have risen more. At this point, you can preheat your oven to 415 degrees F.
HOW TO BAKE CIABATTA ROLLS
Now it is finally time to bake the rolls! Bake them for 20 minutes until they are golden brown. They may not be the perfect square shape, but that is okay!

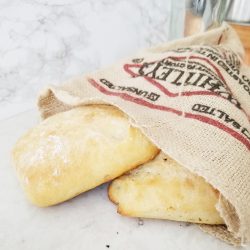
You can store them in an airtight container for about 3 days at room temperature. Or, store them in the freezer if you can't use them. You don't want them to get stale!
Try these recipes next!
- Ciabatta Bread
- Whole Wheat Ciabatta Bread
- Focaccia Bread
- Naan Bread
- Whole Wheat Naan Bread
- Sourdough Cinnamon Rolls
- Sourdough Rainbow Bagels
- Beet Bagels
If you try my Ciabatta Bread Rolls Recipe, please let me know your thoughts by leaving a rating and comment below! Ready for more? Subscribe to my newsletter or follow along on Pinterest, Instagram, Facebook, and Youtube!
Ciabatta Rolls
Equipment
- parchment paper or baking mat
- 9" square baking dish
Ingredients
- 4 ⅛ cups all purpose flour, or white wheat flour for a chewier texture, use bread flour
- 2 teaspoon pink sea salt or regular table salt
- 2 ¼ teaspoon fast action yeast see instructions if using active dry
- 2 tablespoon olive oil plus extra for rising
- 1 ¾-2 cups room temperature water
Instructions
Fast action method:
- Combine the flour and fast action yeast. Add the water and olive oil. Mix to combine. Add the salt and mix again. (continue past the active dry method to the next steps)
Active dry method:
- Mix the active dry yeast with 1 teaspoon of sugar and ¼ cup of warm water. Let sit until frothy. You will see it activating. If it is not frothy, you either have dead yeast or the water was too hot and killed it.
- Add the rest of the water, the flour, and the olive oil, mix to combine. Add the salt and mix.
- At this point the dough should be very sticky. It is not a typical dough where you want it to be non-sticky. If it is not sticking to your hands, add ⅛ cup more water at a time as needed.
- Knead the bread in the bowl (or on the counter if you prefer). You will want to knead it until it can stretch at least 3-4 inches without breaking.
- Once you have kneaded it sufficiently, place it in a greased square baking dish. Cover with a towel and place in a warm area for ~2 hours. The dough should double in size.
- Preheat the oven to 415 degrees F.
- Turn the dough onto a very lightly floured surface. Cut it into 10 even buns. Try to get them as even as possible and being gentle with the dough so it stays in a square shape & keeps the air inside. It helps to put flour on the knife when you cut the dough so the knife doesn't stick.
- Transfer them onto your parchment paper or baking mat lined trays. Gently shape them into a square if they have lost a bit of shape.
- Cover them again and let them sit ~20 minutes to proof. They should almost double in size while sitting again.
- Bake for 20-25 minutes in the pre-heated oven or until golden brown on top.
- Store in an airtight container at room temperature for up to 3 days or in the freezer if you can't use them all at once.



Virginia
I like the idea of using the all-purpose flour when I'm out of bread flour! I will have to try this out!
[email protected]
Yes! I actually didn't plan to make the recipe with this flour, but since it turned out so good I'm definitely doing it again 🙂
Aley
I love ciabatta but have never attempted to make it because it seems so difficult.. This recipe was super easy to follow, and it turned out so well! I'll have to try it with bread flour next time to see the difference. Thanks so much for an awesome recipe!
[email protected]
I'm so glad they turned out great for you! Ciabatta is so good! <3